Run labs
Operate and consoles
Start and stop nodes, use the console dock, apply startup configs with ScriptPad, and connect SecureCRT or PuTTY.
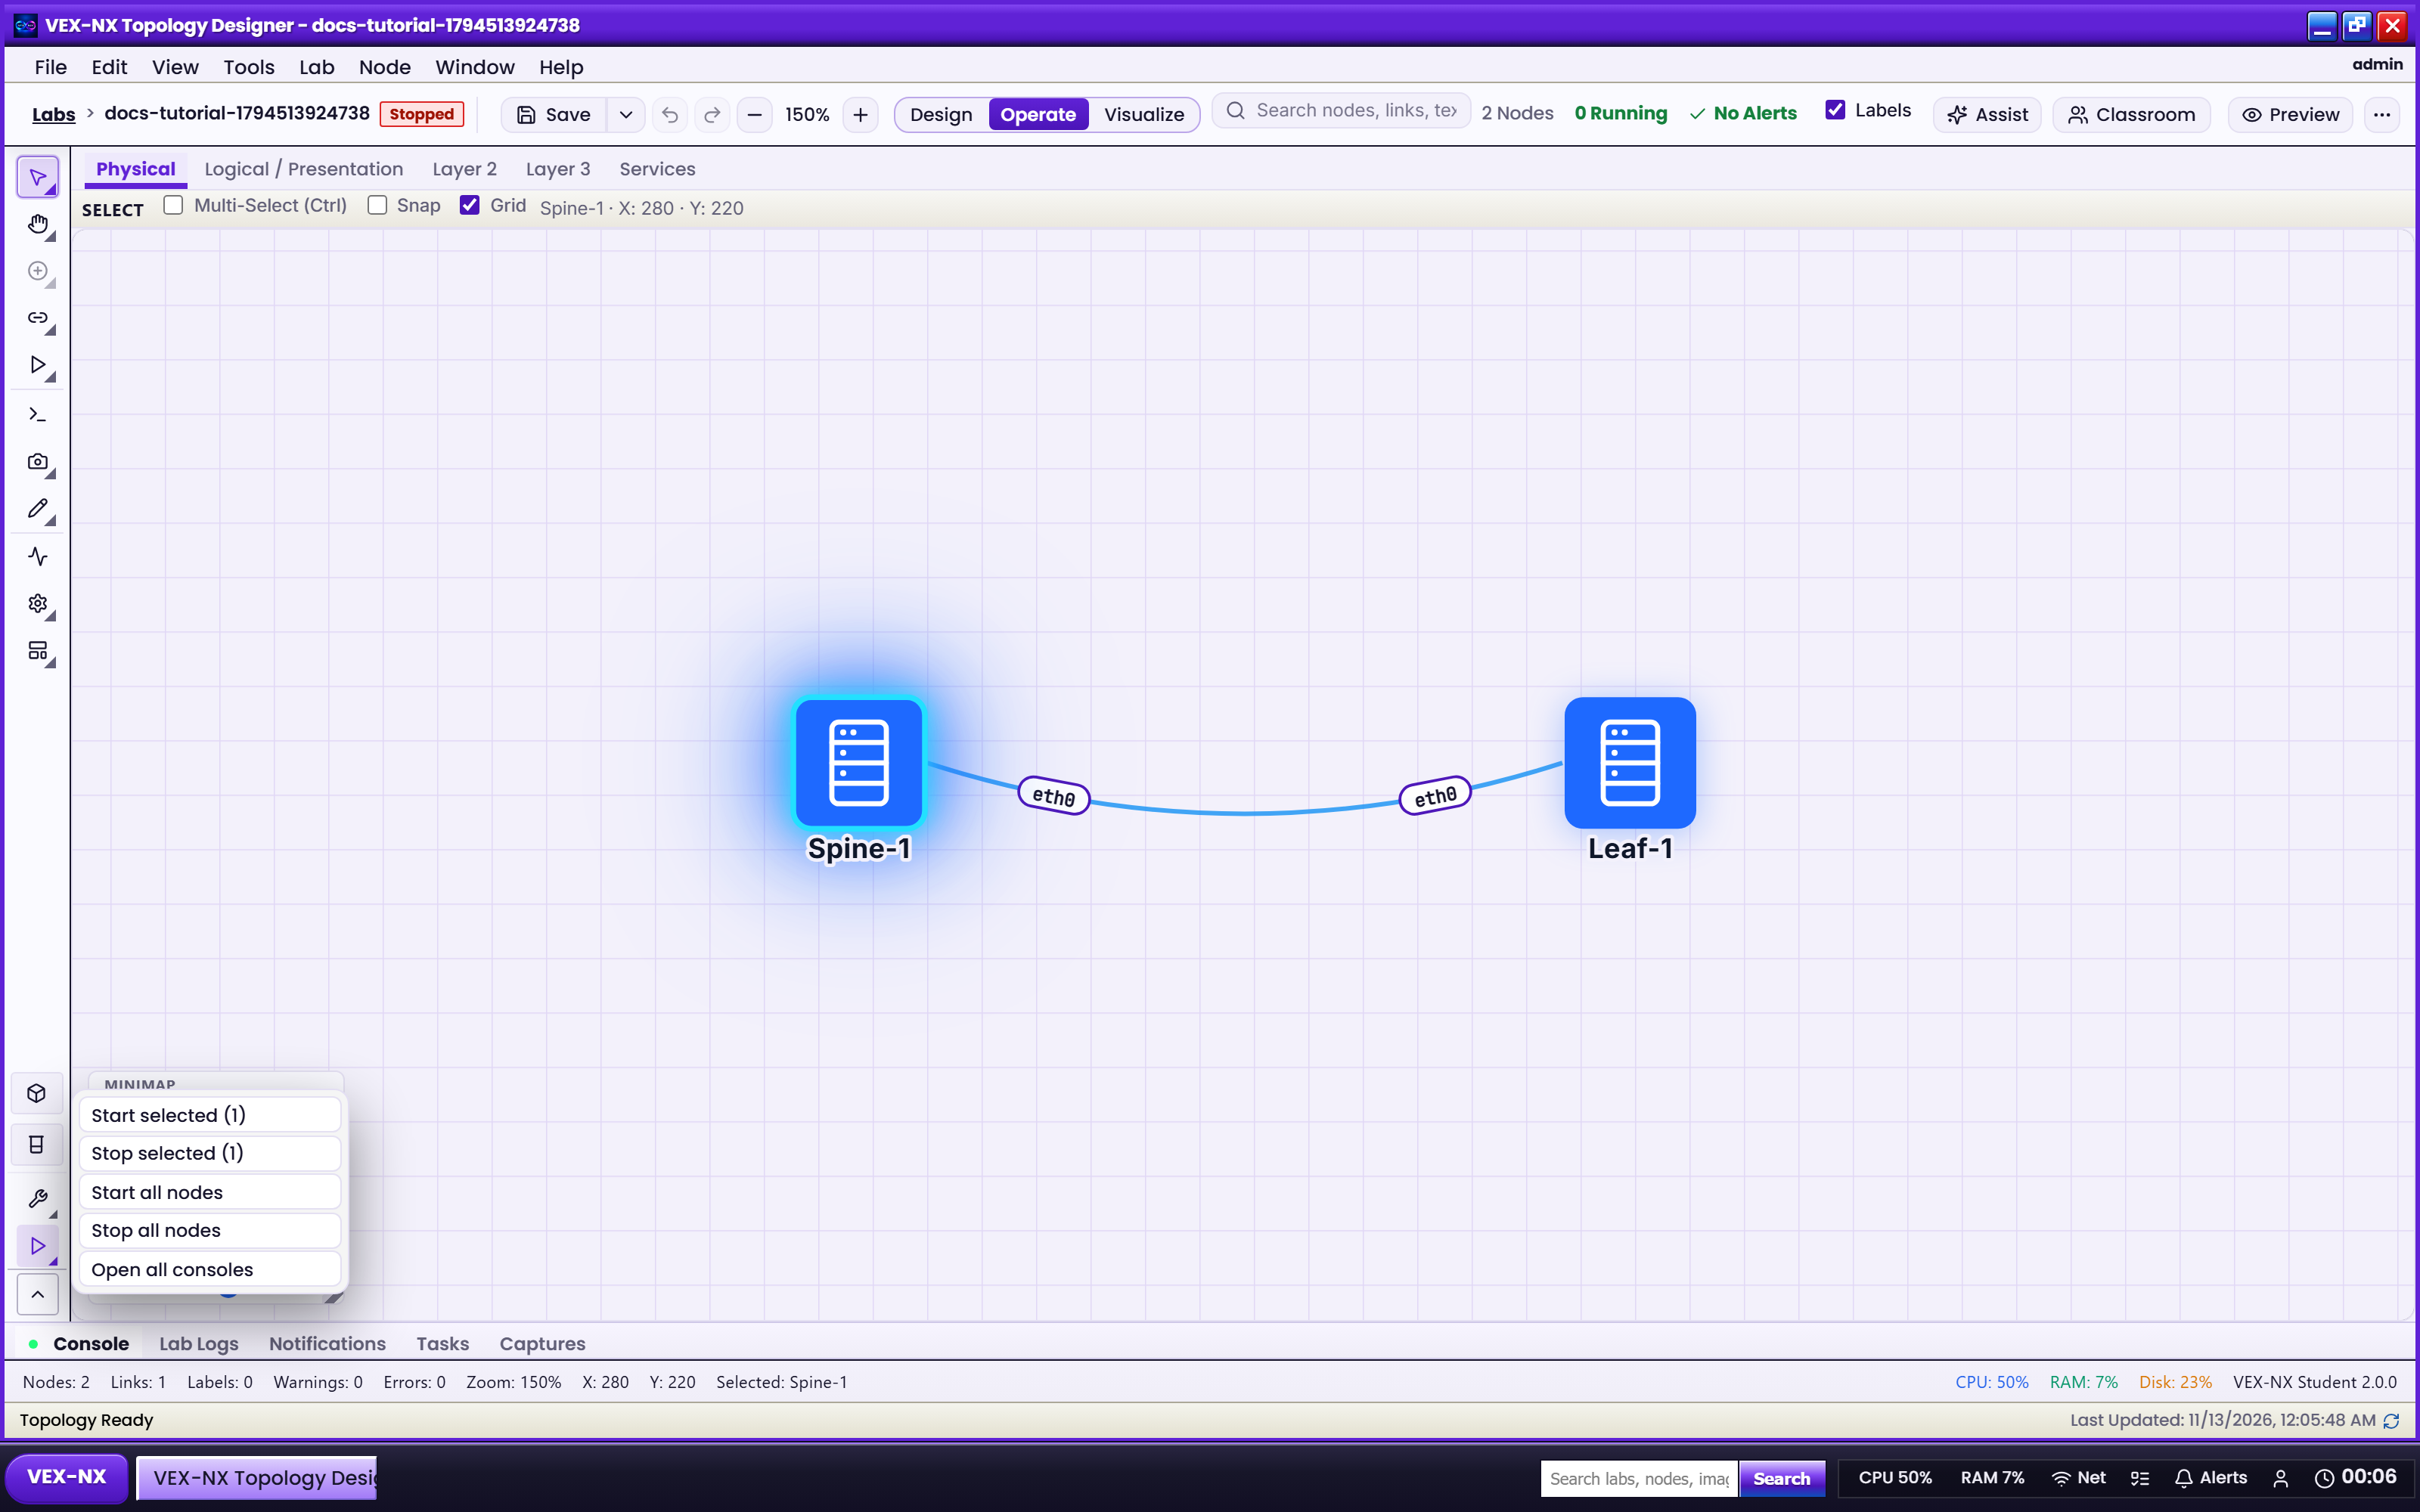
Design doesn't boot anything. Operate is where you power nodes on and off and open their consoles. Switch modes on the workspace bar before you Start.
Start nodes and open a console
- Switch to Operate and click Start all, or right-click selected nodes → Start. Check Home → Launch Budget first on big labs.
- Wait for running. Status changes to running, or a clear error appears.
- Open Terminal. Select a running node and click Terminal, or right-click → Console. The console docks under the canvas.
- Maximize when you need room. Use Copy, Paste, Clear, font size, and History. Open more tabs for other nodes.
- Restore the dock to get the canvas back with a slim console strip.
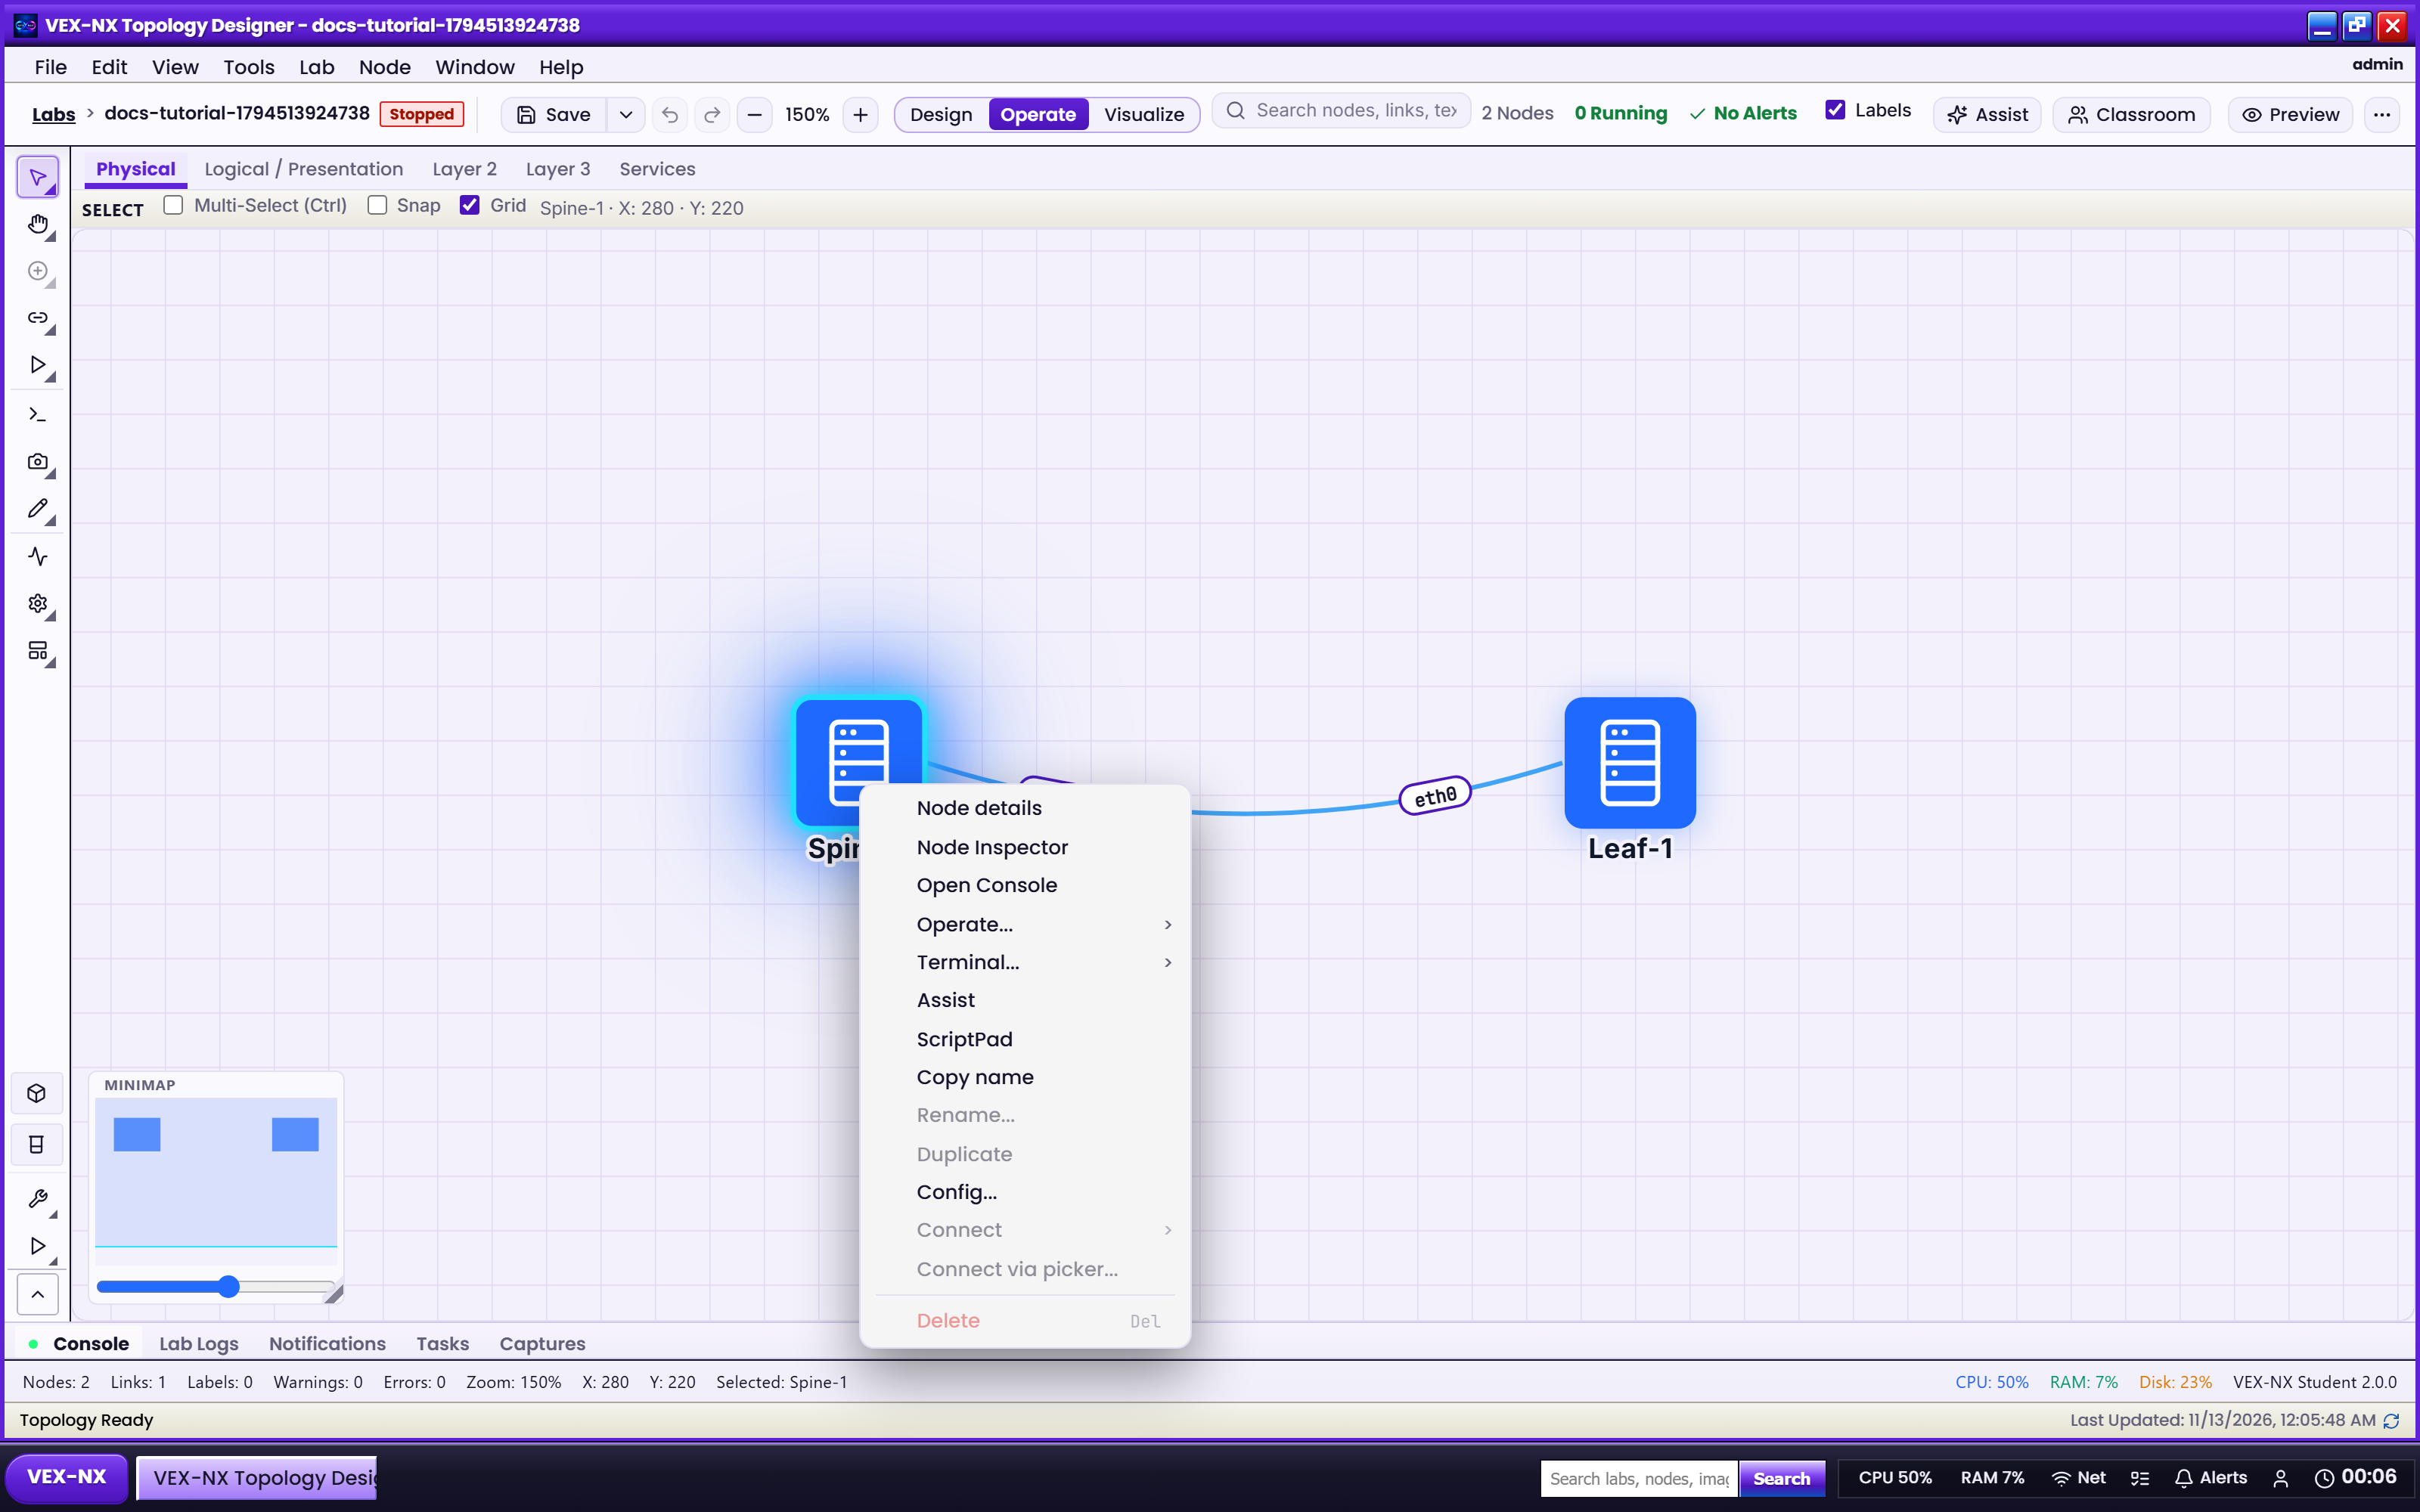
Serial is used for most routers and firewalls, VNC for graphical desktops, and a shell for containers. On FRR, run vtysh for the routing CLI.
Tip
Pasting a long config? Use Command to send with Ctrl + Enter, set the line ending (CR for Cisco serial), and add an inter-line delay.
Startup configs with ScriptPad
The active ScriptPad profile is the startup config for every QEMU, IOL, Dynamips, or Docker node that supports injection.
- Save and Activate the profile.
- Wipe, then Start to apply it the first time or to force a re-apply.
- Wait. VEX-NX attaches day-0 media when the template supports it, checks the hostname, and falls back to live CLI injection if day-0 missed.
- Check the result in the node inspector under Config apply:
ok,injected,day0-miss, orinject-failed.
Stop and Start alone keep the disk and don't re-read ScriptPad. On Nexus (NX-OS), Wipe + Start attaches a day-0 ISO, which is more reliable than serial paste.
SecureCRT or PuTTY
- Install the Windows Client Pack once. Terminal menu → Download Windows Client Pack, unzip, run
install.cmd. - Right-click a running node → Open in SecureCRT or Open in PuTTY.
- Allow the browser prompt to open VEX-NX Console. The helper connects to the appliance on TCP 8022.
For many nodes at once use Operate → Open all in SecureCRT/PuTTY. After an appliance update that refreshes the helper, download the pack again and run install.cmd -Repair.
| Problem | Fix |
|---|---|
| Invalid port or hostname required | Run install.cmd -Repair from a fresh pack; check %LOCALAPPDATA%\VEX-NX\console-helper\last-launch.log. |
| dial tcp … connection refused | Stop, then Start the node, and open SecureCRT again. |
| Remove the helper | install.cmd -Uninstall (add -ClearEnv to clear overrides). |
Wipe
Wipe recreates the node's disk. On supported platforms VEX-NX first tries to save the running config into the active ScriptPad profile.
Warning
Wipe is destructive. Use it when a guest is in a bad state, not as a daily Stop.
If it fails
| Symptom | Fix |
|---|---|
| Missing disk image | Images → Import, then bind it in the Library. |
| Docker image missing | Operate → More → Seed Docker images, or sudo vexnx-seed-docker. |
| KVM off | Enable nested virtualization; see System requirements. |
| Quota exceeded | Stop other labs, or raise quotas in Administration. |