Administration
Admin overview
Operate a VEX-NX appliance after install: users, licence, Assist LLM, classrooms, host health.
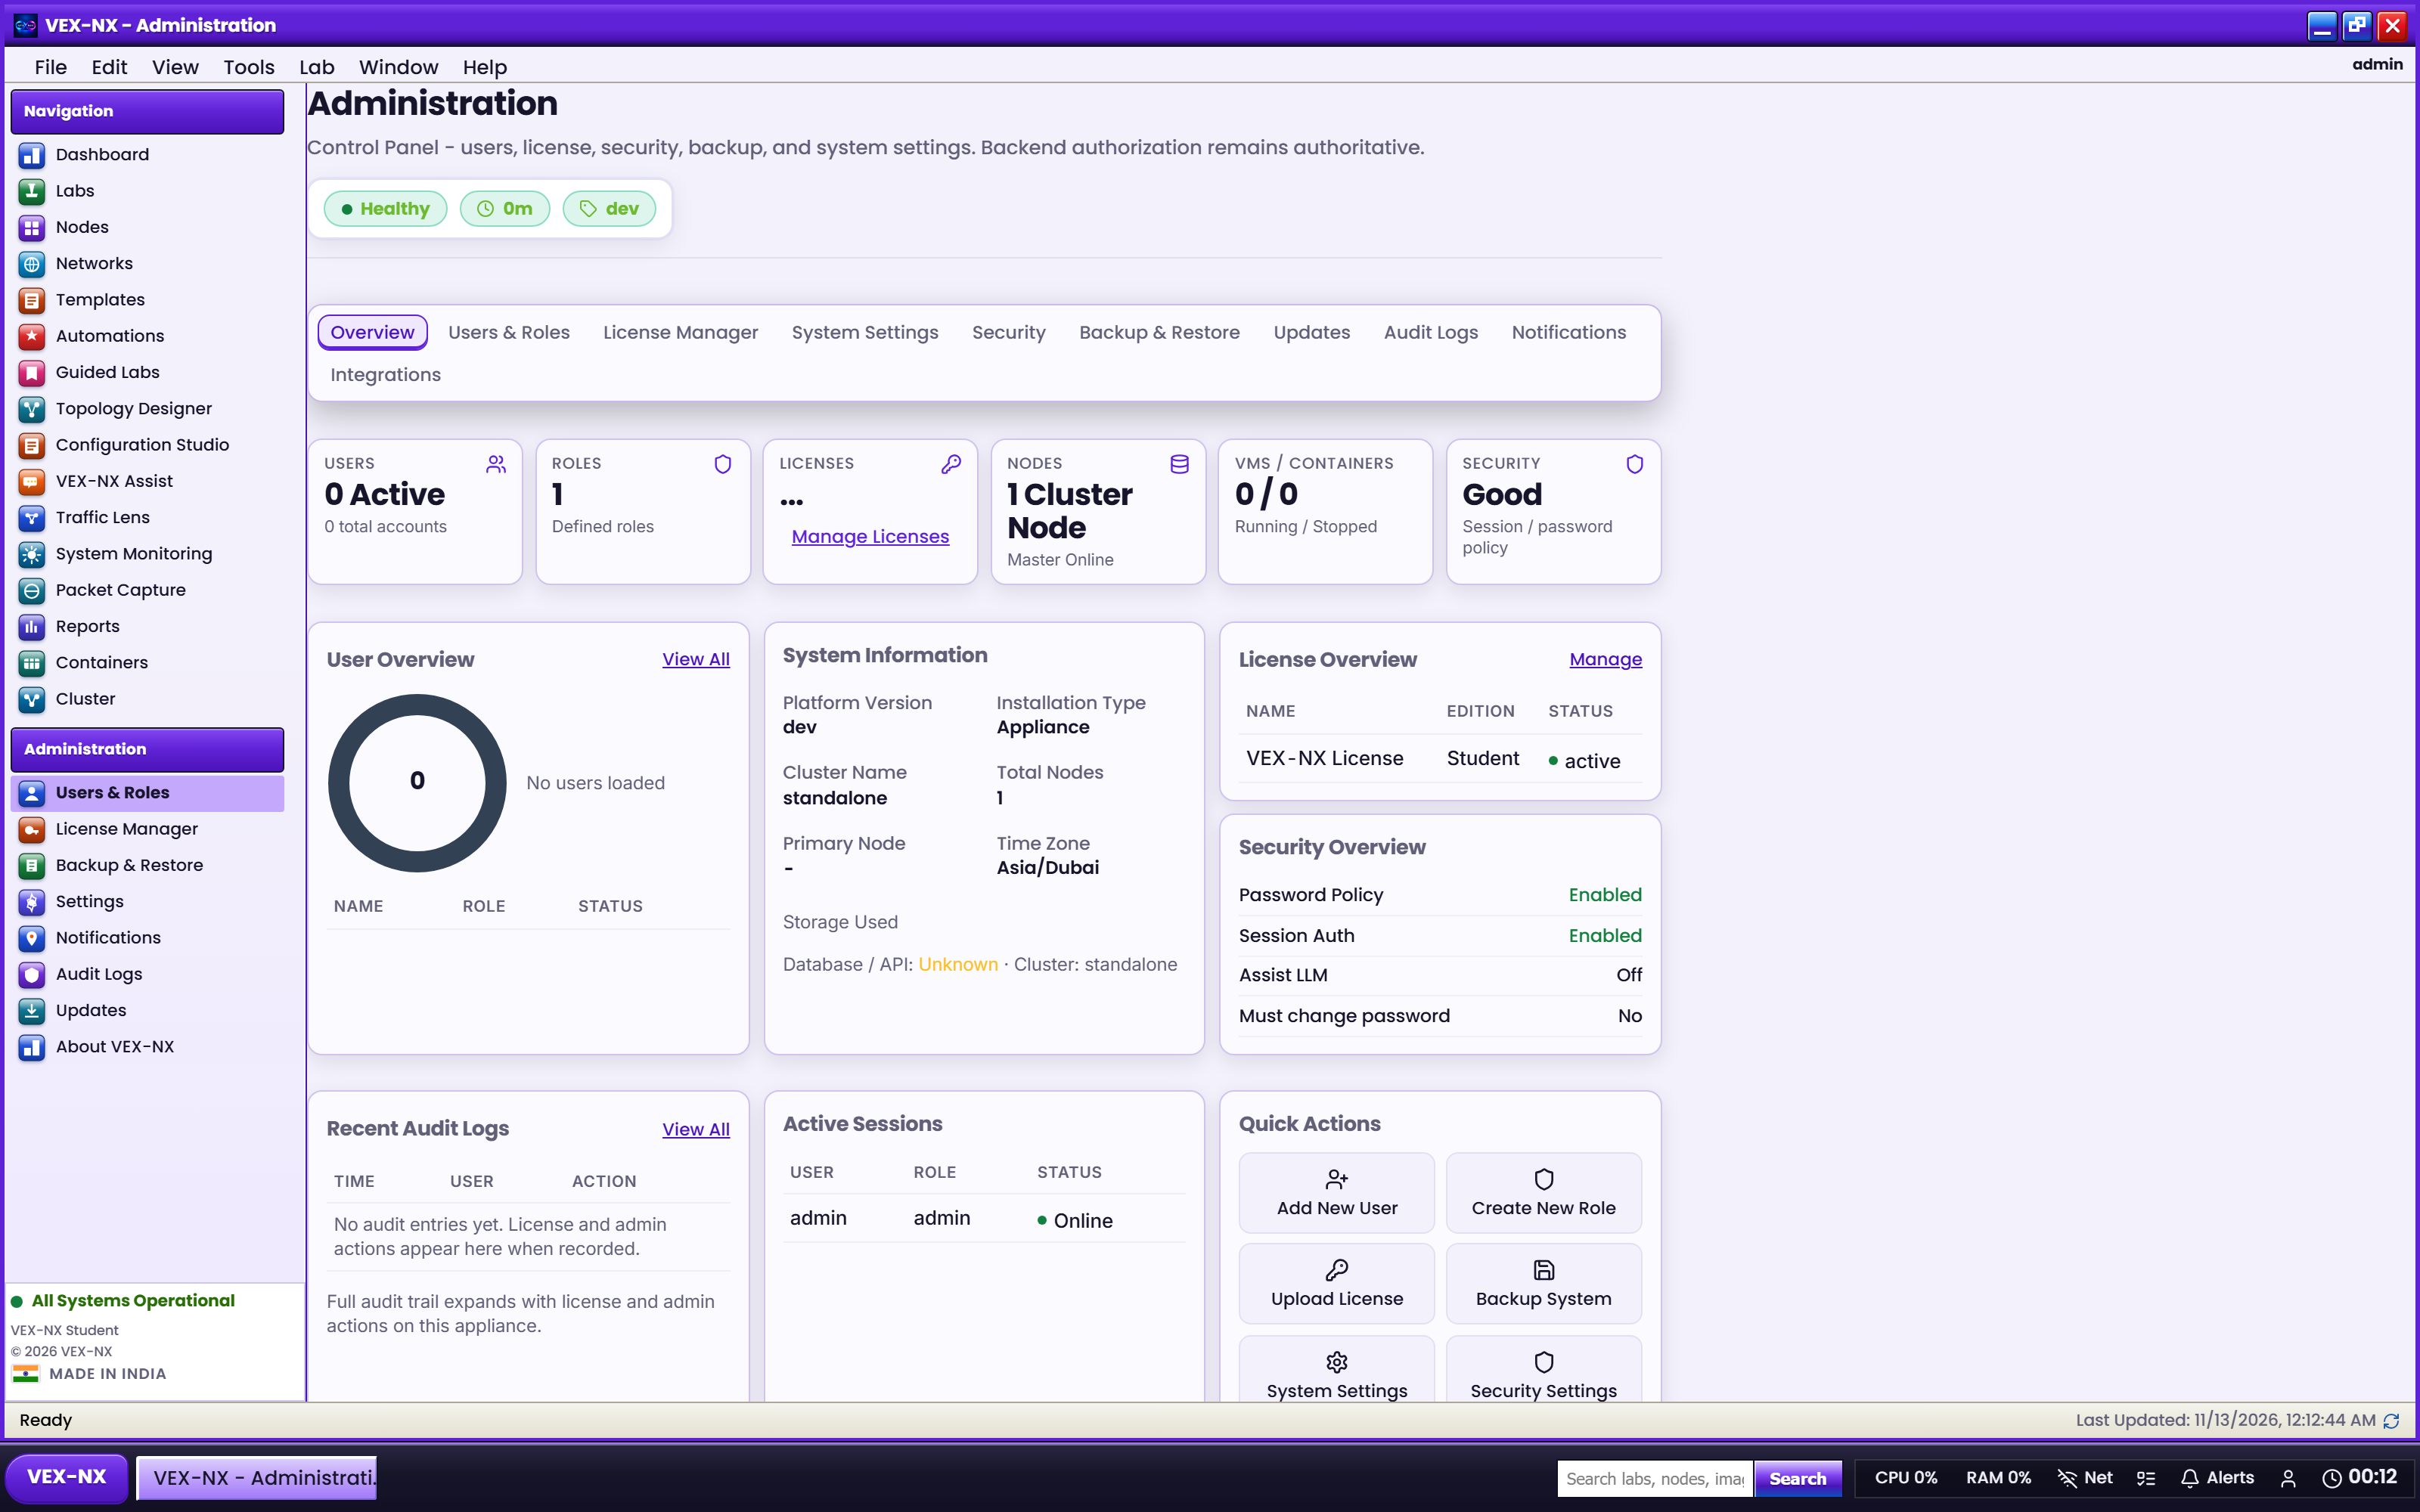
More visuals: Admin and licence.
Goal
Operate a VEX-NX appliance after install: users, licence, Assist LLM, classrooms, host health.
Who should read this
Instructors and lab admins who manage the shared appliance. Lab builders should start with the User Guide (Menus and toolbars).
Administration page cards
Open sidebar Administration.
| Card | Why it is there | Example |
|---|---|---|
| Account | See your role; change password | Change temp password on day 1 |
| Users (admin) | Create user / editor / admin + CPU / RAM quotas | Create alice student with 4 vCPU / 8192 MB |
| Assist LLM (admin) | Enable OpenRouter, model, API key | Paste the key only on the appliance; Assist is available on Student and Enterprise |
| Licence (admin) | Activate Enterprise; export signed requests | Unlock the full template catalog / classroom timers |
Why quotas: One student Start-all of many nodes should not freeze the classroom host.
Do not paste real OpenRouter keys, licence private keys, or customer passwords into GitBook.
Classroom share and timers are controlled from the lab Classroom button (Sharing labs).
Admin checklist
- First login as admin
- Activate an Enterprise licence if required: Licence editions and activation
- Create student accounts / quotas: Users, roles, and quotas
- Configure Assist (needs an OpenRouter key): Assist LLM settings
- Confirm KVM / Docker / disk: Maintenance and Infrastructure
- Size for class load: Sizing and upgrades
- Apply vendor
.vxppatches when needed: In-place updates
What this guide does not cover
- Vendor licence signing private keys or issuer tooling
- Building OVA/ISO release artifacts
- Unsigned update bypasses for lab/build hosts