Get started
Your first lab
Build a small working lab with the FRR and Alpine images that ship with VEX-NX. No vendor image needed.
Vendor images need importing and licence awareness. Start with the free starters instead: they prove that Start, Terminal, and the lab fabric work on day one.
Before you start
Current OVA and ISO builds include offline copies of:
quay.io/frrouting/frr:10.2.1alpine:3.20
Confirm Docker is up under Home → Host checks. If Start says an image is missing:
sudo vexnx-seed-docker
docker images | grep -E 'frr|alpine'
If the pull fails with DNS errors, set DNS under Infrastructure → Management network and seed again.
Option A: a Guided Lab (recommended)
- Open Labs → Guided Labs and click Show if the panel is collapsed.
- Filter. Domain Foundations or Routing, rank Bronze.
- Preview the Guide, then choose Use this lab.
- Switch to Operate → Start all, then open Terminal on a node.
- On an FRR node, run
vtyshand thenshow version.
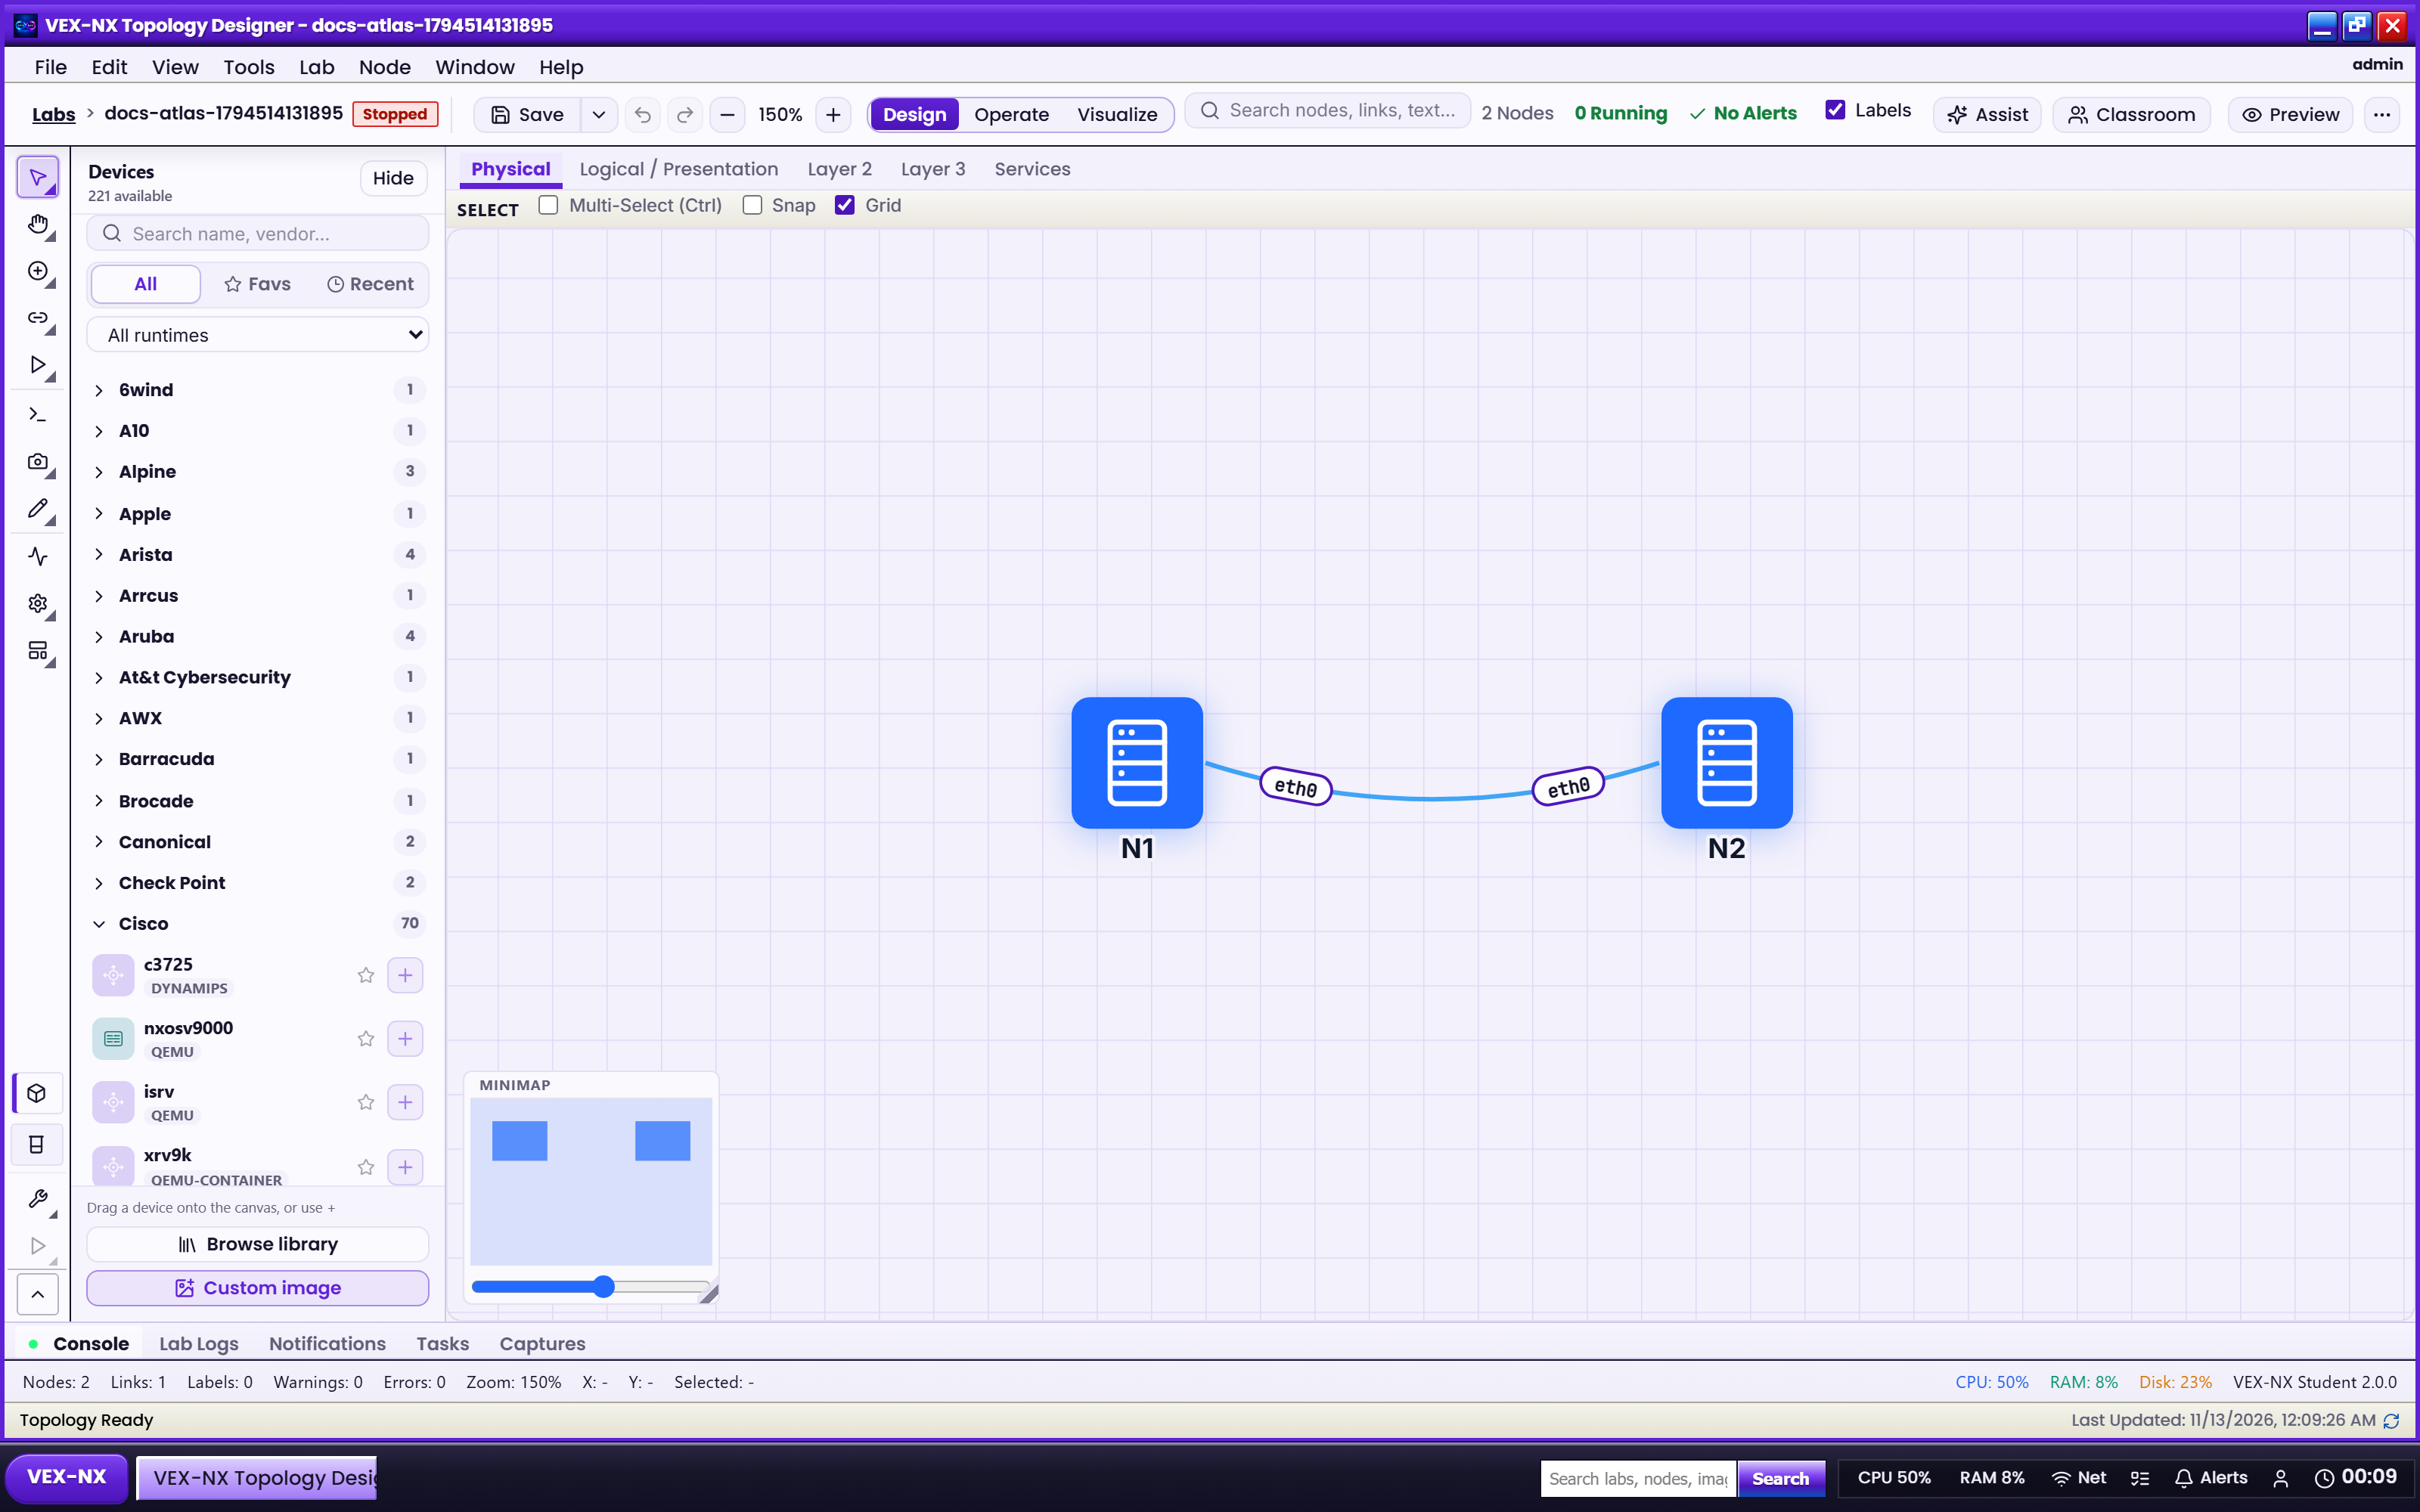
Option B: two FRR routers from scratch
- Create the lab. Labs → Create blank lab, named
frr-pair. - Add nodes. In Design, add two frrouting nodes and connect their data ports.
- Optional internet access. Connect each to a NAT cloud.
- Start and connect. Operate → Start, then Terminal on each node and run
vtysh.
show version
configure
router ospf
 exit
endOption C: two Alpine hosts
Drag two alpine nodes onto the canvas, connect them, Start, open Terminal, and ping the peer. Addressing depends on your lab IP plan.
What good looks like
- Nodes reach running without a registry pull.
vtyshor the shell responds.- Home → Launch Budget shows capacity in use.